
LOW COST OPTICAL DIGITISING
| MENU | |
| Home | |
| Features | |
| Downloads | |
| About Rigs | |
| Purchasing | |
| How It Works | |
| Screen Shots | |
| Contact Us | |
| TUTORIALS | |
| Tutorial 1 | |
| Tutorial 2 | |
| Tutorial 3 | |
| Tutorial 4 | |
| Tutorial 5 | |
| Tutorial 6 | |
| Tutorial 7 |
Tutorial 3
Simple Stereo Project
This tutorial assumes that the user has already done tutorial1 and has a good understanding of the principles of Tutorial 2. This project is available on the downloads page.
The objective of this tutorial is to show how a mesh can be created using stereo images without the need for a rig in each image.
Opening the project
Open up the Tutorial3.op2 project file. There are no images in this basic project.
The images that will be added have been created by taking a picture on a sliding plate that can only move 85.5 mm. The 2 pictures are taken by moving the camera 85.5mm along the X axis.
Adding Images
Click on the Add button in the Images Tab.
In the images property form, add file IMG_4461.BMP. For the Description field, enter Side1. Dont press OK yet !
Click on the Override camera checkbox. The position and rotation fields should become active.
For this image enter the following :
Position X= -85.5, Y=0.0, Z=0.0 Rotation X= -0.1, Y=0.0, Z=0.0
The screen should look like this :
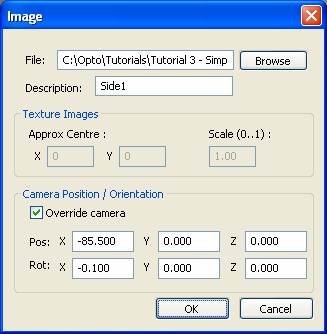
Now press OK. The override is a way of telling the system where you think the camera is located. Images that have manually overridden coordinates like this one, dont need a rig with known 3D points.
Click on the Add button again.
Add image IMG_4462.BMP, with a description of Side2.
Click on the Override camera checkbox. The position and rotation fields should become active.
The screen should look like this :
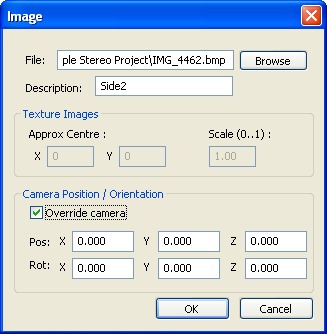
Press OK to close this form.
Linking the images together
We need to link Side1 to Side2 and Side2 to Side1. We do this as follows :
Click on Side1 in the Images Tab.
While holding down the Shift key, click on Side2 in the Images Tab.
Side1 is now linked to Side2.
Click on Side2 in the Images Tab.
While holding down the Shift key, click on Side1 in the Images Tab.
Side2 is now linked to Side1.
Creating points
Creating points and faces have been covered in previous tutorials.
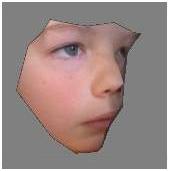
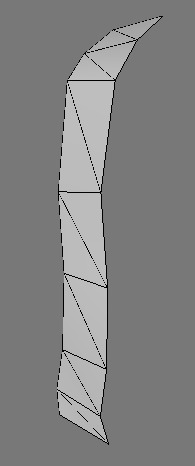
A set of point and faces can be created as a strip down the door as shown below.

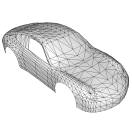
This can be exported to a Direct-X or OBJ file. The output of the export below has been angled to show the contour of the door.
Dont forget to save this project as something like Tutorial3a.op2 to keep the original tutorial project intact.